Sunday, 7 June 2015

Sinking in

The sink and tap are in, although not plumbed in yet.


The bedside cabinet on the right hand side is painted up and fitted.  Doesn't look too bad and defiantly much better that anything I could construct.                                                             
 
 
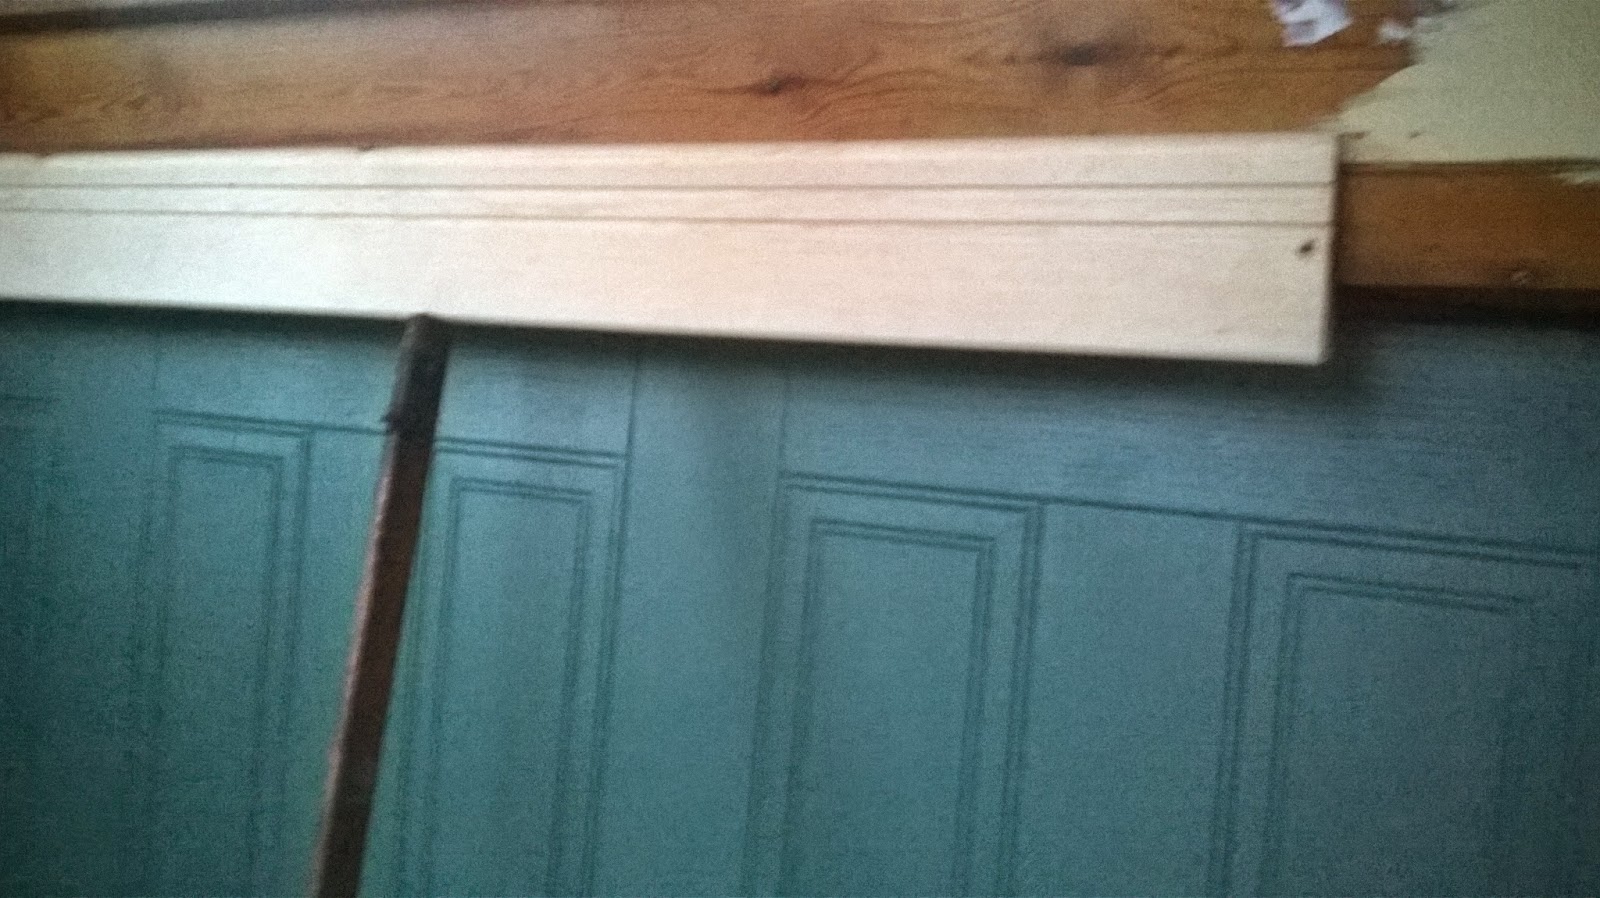
The other one will need to cut and shut to fit around the water pump.  The wide 'dado' that runs along the gunnels proved to be a bit difficult to get onto place.  The sides are not straight and much of the cladding is not fixed to anything solid, but its not too bad.  I am not sure if it will be good enough to take a coat of varnish.  Maybe I need to learn the art of scumble.                                                       
                                              
 
First coat of the cream paint goes on.  The usual problem of painting T&G.  Will need to spend a few hours with a very small brush pushing paint into the cracks.                                                                  


Monday, 1 June 2015

A little thinking outside the box

As previously mentioned, I'm no great carpenter and I was wondering how to build some storage at the front of the cabin, under the front deck.  An ebay search turned up a couple of bedside cabinets at £20 each.  These almost fit the space perfectly and with a bit of fettling and some paint, should look pretty good I think.


I had been thinking about a sink for the kitchen without much success.  I need something small, but this seemed to offer only a caravan type or a cloakroom item.  The caravan ones looked a bit pants to be honest and the cloakroom ones were all very shallow.  Cycling past the chemistry department, I had a bit of eureka moment - what about a lab sink?  Small, ceramic and deep; perfect.

Not the cheapest option maybe, but it is rather nice.

Monday, 25 May 2015

C90s in Essex


No boat building this weekend, but a bimble through beautiful Essex instead with the C90 Club.


Thursday, 21 May 2015

Temporary Worktop

I fitted a piece of shuttering ply as a temporary work top so I could juggle things around and see how it all fits together before I get the real one cut.  I had a bit of a panic when I found that the cut out for the hob is too big for the 500mm unit underneath.  Then I realised that the cut out is only 50mm deep and the work top 60mm, so it doesn't matter.  Doh.


I have been playing around with making a bit of moulding to act as a sort of dado along the cabin sides.  Something like this but it needs to be a little deeper and I also want it vertical to the floor, not angled to the top sides.  A dark hard wood would be nice but I think my budget dictates that its going to be varnished pine.


Thursday, 7 May 2015

Windy weekend

Well, I spent a very windy, wet Bank Holiday on the boat.  It was certainly lively.  There were occasions when I found it difficult to mark and measure things and once or twice I 'missed' a screw with the screwdriver when the boat gave a sudden lurch.  No damage done except my toe onto which I dropped the solid fuel stove.  Nothing to do with the wind - all my fault.

I fitted my new gas tap, but then had to remove it when I realized I had put it right where the end of one of the kitchen units goes.  I shall have to re-think this.  I need to buy some more 10mm copper pipe but I am reluctant to buy a 5m coil when I only need a few cm.  Maybe one of the DIY stores sell short lengths.

On to the kitchen units.  I've done a few of them over the years and they are pretty straight forward.  Best thing I have found is to put them all together and then play around with them until they all fit into place.  I decided to raise them up on blocks since I find 'regular height' work surfaces hard on my back and I want to be able to use the storage space under the units, behind a removable plinth.


I will be fitting a piece of ply over the units for a temporary work top.  This will give me the opportunity to juggle the hob, sink and tap and make sure they all fit right, before I have my 'special' work top cut to size.

The walls are peppered with holes where various things have been fitted over the years.  These have been filled and will be sanded next time with an orbital sander.


I continued with the lower paneling and that is now complete except for the bedroom.  Then came the saloon floor.  This was done in 12mm parquet style laminate from B&Q Being wide boards (only 4 across the boat) they were a bit of a trial to get right, but once down I think they look good.  There is a bit of a bigger gap at each side than I would have liked but it was unavoidable due to the pattern.  Not a big deal, I will just have to fit a wider skirting board.


The lower panels were given two coats of soft sheen 'Fresh Catch' green which I think contrasts nicely with the light floor.


I fitted a few sockets under the gunnel.  These will be hidden by a dado rail that will run along each side.  After a good tidy up and another car load of rubbish,  I just had time to plumb in my custom header tank for the heating system.


Monday, 27 April 2015

Chairs

I want to put a drop down or fold away table and chairs in the boat.  When I saw a couple of old wooden folding chairs loitering by the bins at work, I knew they were ripe for recycling.

Rubbed down and painted in the cream/green colour scheme, they will be just the job.

Thursday, 23 April 2015

Something decorative

After all the destruction and preparation, I thought I deserved something that would give me an idea of the finished article and give me the inspiration I need to get back in that hole and finish the plumbing. 

I wanted to panel the lower walls and after much on-line searching, I found that Homebase offered the best deal on what I wanted - especially if you shop on one of their 10% days.  While I was there I picked up a couple of packs of 5mm dense foam underlay to use behind the MDF panels.  I am not sure how much extra insulation this will provide, but for what it cost and the additional few minutes it takes to stick on, I thought it might be worth it.  I wanted to trial the adhesive before I bought a bulk load, (you use a lot with this stuff) and was pleased to find that Screwfix No nonsense seems to do the job ok.

The foam and the panels went up very quickly and easily with plenty of glue and a small screw in each corner.  I even splashed a bit of paint around, just to see how it might look when finished.